Sometimes in life, you face an undertaking sufficiently big that you need to break it down into smaller chunks for it to seem manageable. When you head to university to study for a degree, you take things one year or one semester at a time; when running a marathon, many people shut out the big picture and simply ponder the next mile.
And the same is true with big automotive challenges.
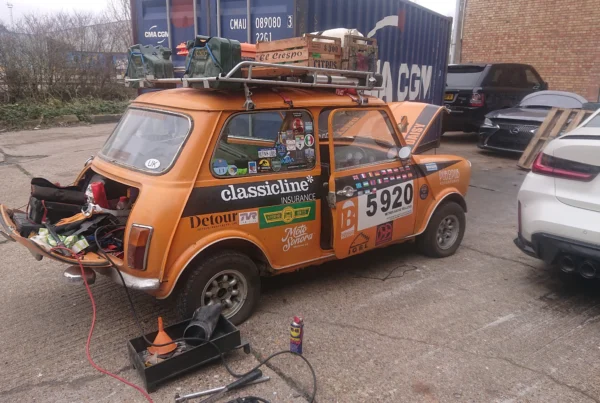
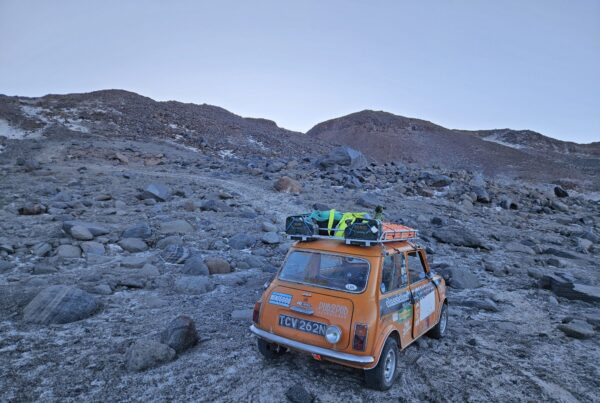
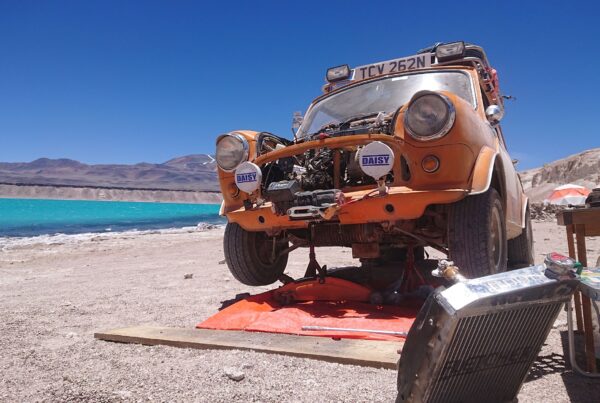
During the Pub2Pub Expedition, for instance, it seemed preposterous to dwell on the whole 27,000 mile journey in its entirety, so in my mind, I’d break down the journey into a series of milestones. First it was continents, then countries, and then days. And sometimes, during the most challenging stretches, the milestone on which I would focus might be the next smooth piece of tarmac, a few miles up the road. Anything after that point would cease to matter in my mind.
But it’s not just the big road trips where the milestones are the ultimate markers of progress.
Restoration projects follow a similar pattern.
It’s safe to say that during the lockdowns, when I took on the challenge of restoring my 1974 Mini to its former glory, I didn’t know quite what I was letting myself in for. The car had been sat in a barn for a decade before the Covid restrictions coaxed me into getting stuck into the project, but even so, how hard could it be? My project was still vaguely Mini shaped; surely it wouldn’t be too much of a challenge to simply cut away the crustier corners and replace them with shiny new metal?
How wrong I was.

With the car already being reasonably well stripped when I started, I quickly found myself in a never-ending cycle of metalwork. Checking, cutting, welding, grinding. It seemed to go on forever, with every part of the car seemingly harbouring an impressive colony of finest 1970s British Leyland rust. But as I worked, I had a couple of milestones in mind. Firstly, achieving a solid, rust-free body and secondly, the day when the car was painted, and I could begin the long-awaited reassembly.
The first of these milestones took over a year to reach and the condition of the body was so bad, that around a quarter of all the bodywork’s metal needed replacing to achieve it. But earlier this year, I got there. The pile of replacement panels which had been a seemingly permanent feature of the workshop shrank to zero, and it was time to think of how to achieve the really big milestone – paint.
As the budget for this project is somewhat limited, throwing thousands of pounds at a paint shop wasn’t an option, so I decided to do the job myself. But even this wasn’t cheap, because having put over a year into the shell, I wasn’t about to use rattle cans or tip a bucket of blackboard paint over the top of it. No, I decided I was going to buy in the kit required to do a proper job. A HVLP spray gun and water trap for my compressor, plus a sufficiently fancy face mask, the materials to build a tent around the car and other sundries came to around £150, and the various paints, fillers, primers, thinners, lacquers and sundry added another £300 to the job.
When you want to do a reasonable job of painting a car, it seems that even the cheap option still costs.

Speak to any professional and they’ll tell you that the key to any good paint job is in the preparation. If you want a good finish, you need a good surface beneath the shiny new paint – smooth, clean and grease-free. So, for several weeks, my sessions working on the mini disappeared in a haze of dust, as I applied thin smears of filler, then rubbed them down, doing my best to achieve a reasonably smooth surface finish. Now, as I intend to use the Mini for adventures, rather than concours competitions, some imperfections were allowed but even so, as the painting process represented the culmination of over a year and a half of work, I wanted the paint job to at least look half reasonable.
But how a paint job looks comes down to more than just the shininess of the finish.
As one of the biggest questions in any big restoration the final colour choice also matters. It’s certainly something I’ve given a lot of thought to over the years and ultimately, it boiled down to two possibilities. For a long time, the front runner was sky blue with a red roof, but I was very aware that this scheme would represent a big departure from the mini’s original BMC colour, a very ‘70s shade of orangey-brown known as ‘bracken’. Ultimately, I decided on a colour fairly close to the original shade, but more orange; a colour named ‘Porsche signal orange’, in fact. And after the weeks of filling, sanding, priming and prepping, I built a temporary tent around the Mini, gave the shell one last wipe down, and applied the paint and primer.
As to the result, feel free to judge for yourself. To me, while it’s certainly not perfect, it’s still good enough for me to take a hefty degree of pride in all the effort I’ve expended to reach the milestone.
And it also enables me to think forward to the next few milestones: the first startup, and the first drive. Now they’ll certainly be moments to remember, too.


